RabbitMQ is an open-source message broker software that implements the Advanced Message Queuing Protocol (AMQP). This middleware is a popular, reliable, and scalable platform for building Realtime applications.
Setup RabbitMQ
For Ubuntu:- Go to the official website and follow the instruction(https://www.rabbitmq.com/docs/install-debian).
For windows:- Go to the official website and follow the instruction(https://www.rabbitmq.com/docs/install-windows).
Once you will setup the RabbitMQ server then go to browser and run http://localhost:15672 and use given username password for login.
Username:- guest
Password: guest
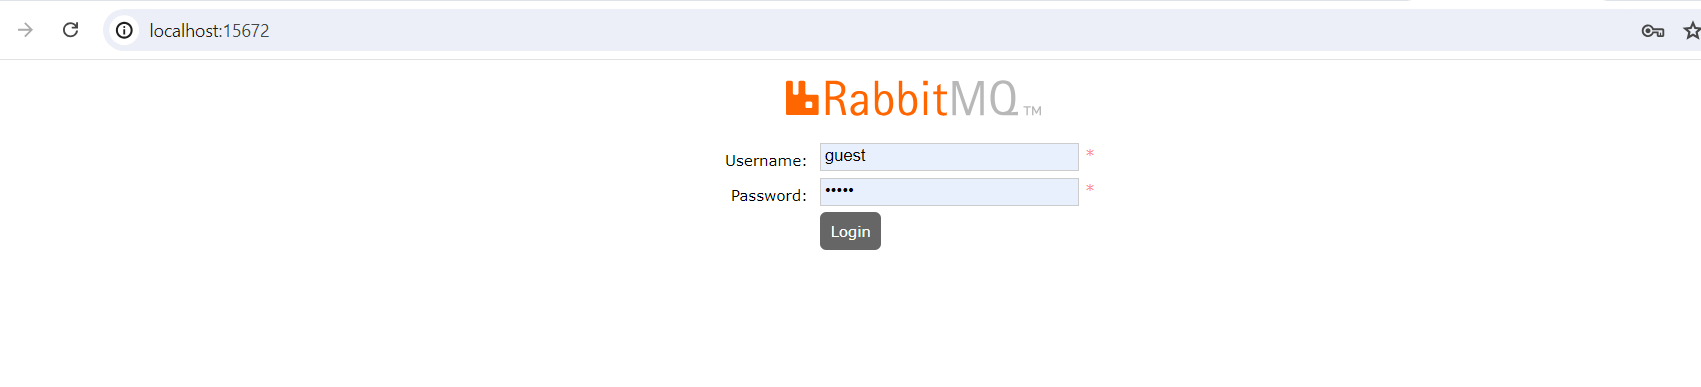
After successfully login, you can find given screen.

Once you will click on Exchange tab then you can see your exchange which you have created from code or manual(For manual you can click on add a new exchange and create).
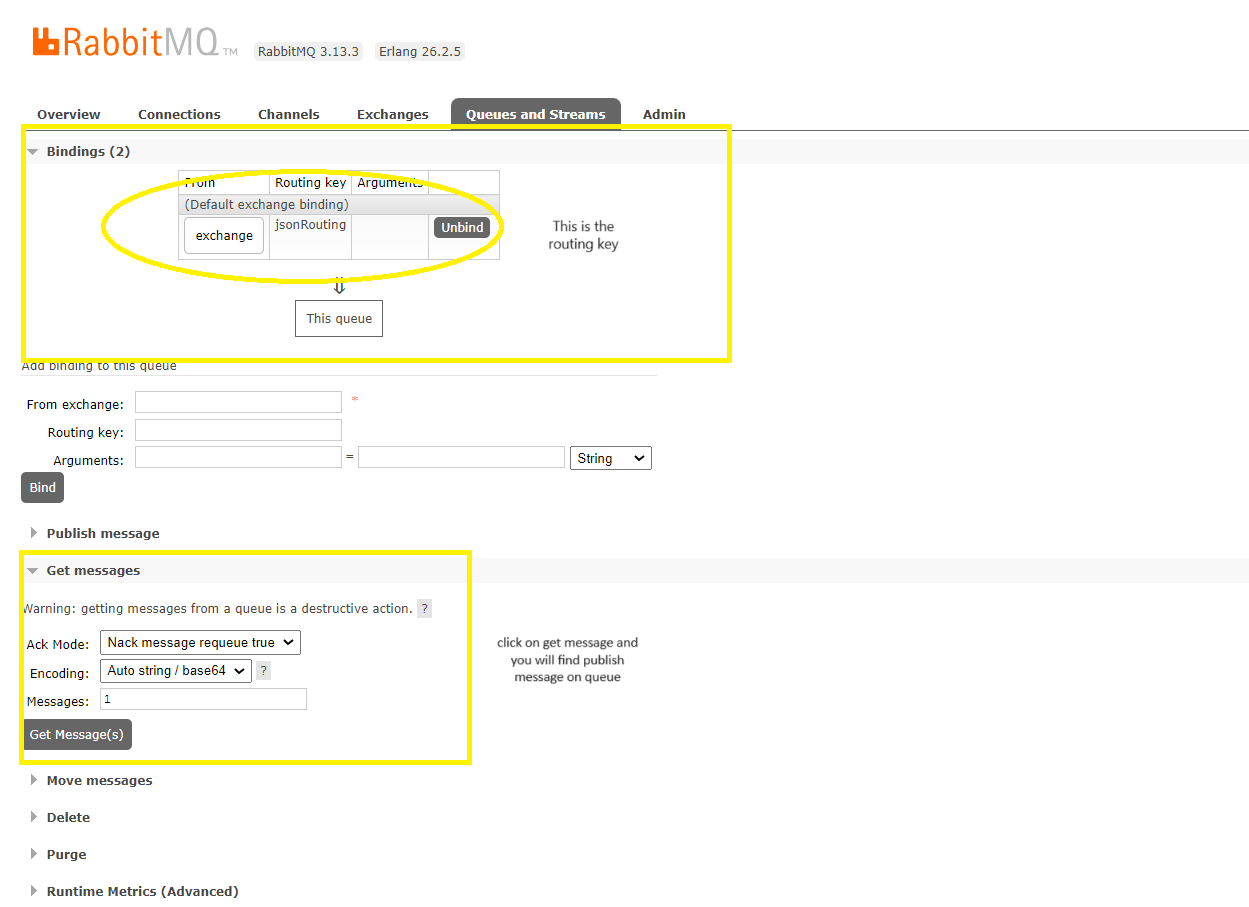
Once you will click on Queues and Streams or Queues then you can see all queues which is created by you. once you can click on any specific queue then you can see routing key and publish all message(Refer given screenshot)
Now RabbitMQ setup is completed.